Making Fruit-Wines, Liqueurs & Rumtopf
Home-made fruit wines are delicious and easy to make. In the last issue, I talked about different ways to preserve food, from storing, canning and drying to making jams and pickles. All these methods serve to preserve the gifts of a plentiful harvest for later use, to sustain the body.
Unfortunately, there is only so much jam and cake you can eat.
But hey, there is still something else you can do with all that abundance of fruit!
Traditionally, surplus fruit was often distilled into fruit brandy. The Black Forest, for example, is famous for its Kirschwasser, but there are dozens of similar fruit brandies made from plums, raspberries, bilberries, pears, apples, apricots — you name it.
Inconveniently, home distillation is illegal in many parts of the world, so we won't get into that topic here.
Making Fruit-Wines
The process of making fruit wines is simple enough. It involves the straightforward conversion of sugar into alcohol and carbon dioxide, using the 'bio-services' of yeast, which does all the work. (Sorry, wine-making is not CO₂-neutral.)
Basic Method
- Select and prepare the fruit: remove stalks and large stones.
- Transfer it to a bucket and bruise or mash it.
- Add water — the flavour would usually be too strong if the fruit were left undiluted.
- Add other flavouring ingredients, such as ginger or raisins.
Many winemakers add Campden tablets at this stage to inhibit unwanted micro-organisms. Others simply add the yeast and allow nature to run its course.
Whichever method you follow, it is important to understand how the ingredients interact - a little knowledge of basic wine-making chemistry goes a long way!
After adding the yeast, leave the mixture to ferment in a covered container. Primary fermentation usually takes around 3–7 days, although the exact duration will depend on the recipe, temperature and fruit.
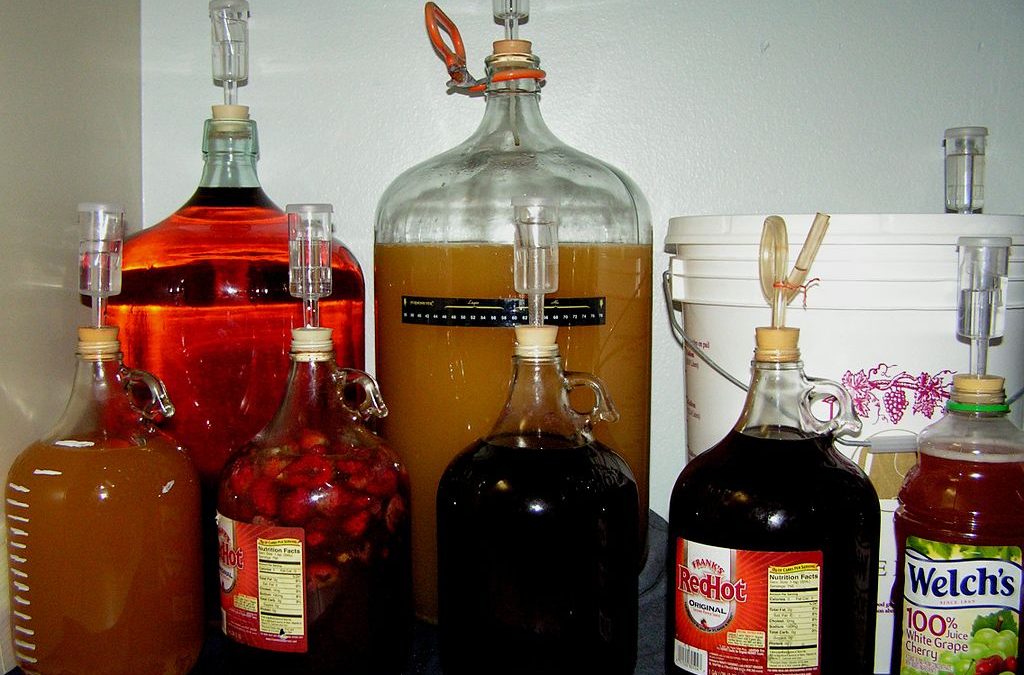
The liquid is then siphoned into a demijohn and fitted with an airlock. This allows carbon dioxide to escape while helping to protect the wine from excessive exposure to air.
The wine is left to ferment, often for several weeks. Sugar and acidity can be monitored and adjusted according to the recipe and the desired result.
Avoid opening the demijohn unnecessarily, particularly during the early stages when the alcohol content is low.
Once fermentation is complete and you like the result, the wine can be siphoned off to remove the sediment. Filter, if necessary, and bottle. Use squeaky-clean, sterilised bottles to prevent spoilage.
As with most wines, fruit wines, too, usually benefit from ageing. Give them six months to a year to let them develop some genuine depth and complexity.
There are gazillions of different recipes for making wine from just about any fruit or vegetable imaginable. Grapes are considered ideal because of their natural balance of acids and sugars, so they require little or no adjustment.
The more difficult aspect is the measuring process used to calculate the acid, sugar and potential alcohol content of the resulting brew — that is, if you are going to get technical about it and expect to have some control over the result.
TROUBLE SHOOTING:
When Fermentation Stops Too Soon
Sometimes a wine that was bubbling happily suddenly seems to stop. Don't panic — there are several possible reasons, and most are fairly easy to investigate.
First, make sure it has really stopped. An airlock that has gone quiet doesn't necessarily mean fermentation is finished. If you have a hydrometer, take a reading and check it again a day or two later. If the reading is changing, the yeast is still doing its work.
If fermentation really has stopped, possible causes include:
- Too little sugar — there may not be enough fermentable sugar to produce the alcohol level you were aiming for.
- Too much sugar — surprisingly, an overly sugary starting mixture can also inhibit the yeast. Sometimes less is more!
- Too little yeast — the yeast is the main actor in this transformational process. But if there is not enough of it, it can’t do its work properly.
- Weak or stressed out yeast — old yeast, unsuitable yeast, or yeast that has not been properly activated can all cause problems.
- Not enough nutrients — fruit does not necessarily contain everything yeast needs for a healthy fermentation.
- Too cold — yeast likes it warm, it becomes sluggish when the temperature drops.
- Too much alcohol — as the alcohol level rises, it becomes increasingly difficult for the yeast to keep going. (A good way to stop the fermentation process is to add alcohol.)
- Too acidic — fruit varies enormously in acidity, and an especially acidic brew can make life difficult for the yeast. (Lemon wine exists. But making it is rather challenging for beginners.)
In other words, don't immediately throw in more sugar and hope for the best. A little investigation usually reveals what is going on. And if you're making fruit wine for the first time, don't be discouraged by the occasional failed experiment. Part of the fun is learning what works with each particular fruit.
A satisfying fruit wine does not come about entirely by accident (although it may). When using other fruits, the brew is periodically sampled and measured so that the acidity and sugar levels can be adjusted as necessary.
Hot summers produce sweeter fruits than cold and rainy ones, but personal preference is an important factor too. Some people prefer a lighter, fruitier wine, while others like something heavier and more full-bodied.
As with any food-making venture, the better the quality of the source material, the better the result will be.
iI you want consistently good results, you should invest in a range of tools and equipment, and learn how to use them. You also need somewhere to store the equipment, bottles and demijohns. They have a sneaky habit of multiplying while you are not looking.
It would go far beyond the scope of this article to describe all the equipment necessary to get started, or all the additives that may be used to improve the quality of the wine. There are plenty of specialist books, winemaking forums and other resources where you can learn from people who are practising this fine art.
https://homebrewtalk.com/forums/winemaking-forum.25/
https://www.winemakingtalk.com/
The satisfaction and sense of excitement, are absolutely worth the effort.
Just don't expect your banana wine to taste like Chardonnay.
And be patient!
Elderberry Wine
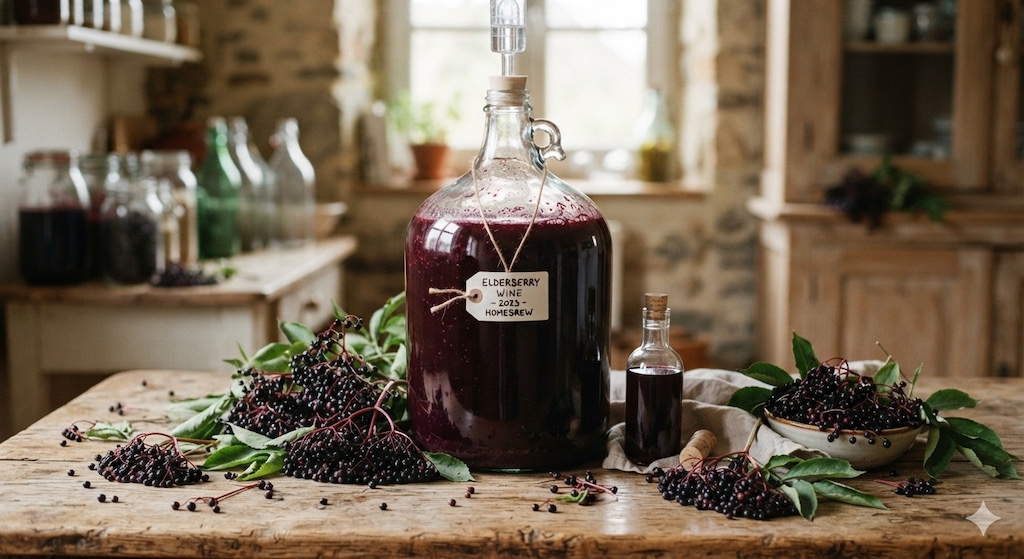
Elderberry Wine is a delicious, full-bodied, country wine, rich in berry notes. This recipe is for Sambuccus nigra, European black elder berries, though the pros prefer English berries on account of their superior flavour, which they claim, may be due to the soil composition. More important, though, is to make sure to use only true, fully ripe Black, not red elder berries, nor ground elderberries. These distinctions matter!
Ingredients
• 3 lb fresh elderberries
• 3 lb sugar
• 8 pints of water
• 1 teaspoon citric acid
• Wine yeast
Clean the elderberries and strip them from their stalks, removing all green parts. Place the berries in a bucket and bruise them gently to release the juice.
Boil the water and pour half of it over the berries. Set aside until cool.
Dissolve the sugar in the remaining boiling water and strain the berries through a sieve into the sugar solution. Add the citric acid and yeast once the liquid has cooled sufficiently.
Pour the liquid into a demijohn and fit an airlock.
Keep the wine in a warm place and allow fermentation to proceed. When the bubbling has ceased, siphon the wine into a clean vessel — a process winemakers call racking. This removes the sediment, known as the lees.
Store the demijohn in a cool place and rack intermittently until no more sediment forms. When fermentation has ceased completely and the wine has reached the appropriate specific gravity, it can be bottled.
Elderberry seeds contain mildly toxic glycosides which are neutralised by boiling. Some prefer to boil the berries with an equal amount of water for about 30 minutes and gently bruising them to release the juice. The important thing to remember is to clean the berries well, picking out all green berries and stalks, and to strain the liquid carefully to remove all the seeds.
Liqueurs
Liqueurs are a kind of sweet alcoholic 'dessert': easy to make and quite delicious.
Fruit or herbs are macerated in a strong alcohol base such as vodka for several weeks. The fruit is then removed and sugar or spiced sugar syrup is added. The liqueur is left to mature for several months — and, generally speaking, the longer you leave it, the better it becomes.
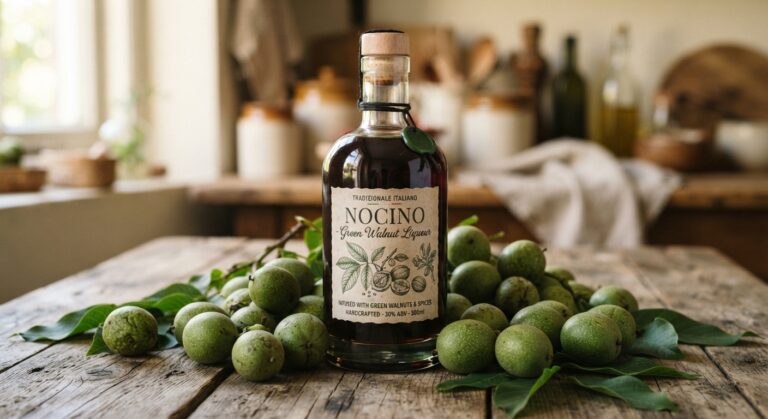
Green Walnut Liqueur
Green walnut liqueur is traditionally made from young walnuts harvested while they are still soft enough to cut through. Older recipe books recommend to gather them around St John's Day, June 24th.
Ingredients
• 750 ml fruit brandy
• 500 g brown sugar
• 1 vanilla bean
• 3 inches of cinnamon stick, crushed
• 3–5 star anise, roughly crushed
Pick about 30 young green walnuts while they are still soft. Cut them into slices and place them in a wide-mouthed jar.
Pour over 750 ml of fruit brandy or eau-de-vie and leave the walnuts to macerate for 4–6 weeks.
Strain and discard the walnuts.
Prepare a syrup with 500 g brown sugar and 500 ml water. Scrape the seeds from the vanilla bean and add them to the syrup together with the crushed cinnamon and star anise. Simmer gently for about five minutes.
The original recipe also calls for a teaspoon of cocoa powder and the juice and zest of one organic orange. Allow the syrup to cool, then combine it with the strained walnut infusion.
Pour into clean jars or bottles and allow the liqueur to mature for at least three months before filtering and bottling.
And then, of course, comes the hardest part of all:
waiting.
Beware that green walnut husks are strongly staining. Wear gloves to protect your hands and don't wear your finery when handling the nuts.
Rumtopf
Rumtopf is a wonderful way to preserve surplus fruit — by the time it is finished, it has turned into a culinary stroll through the fruity highlights of the season.
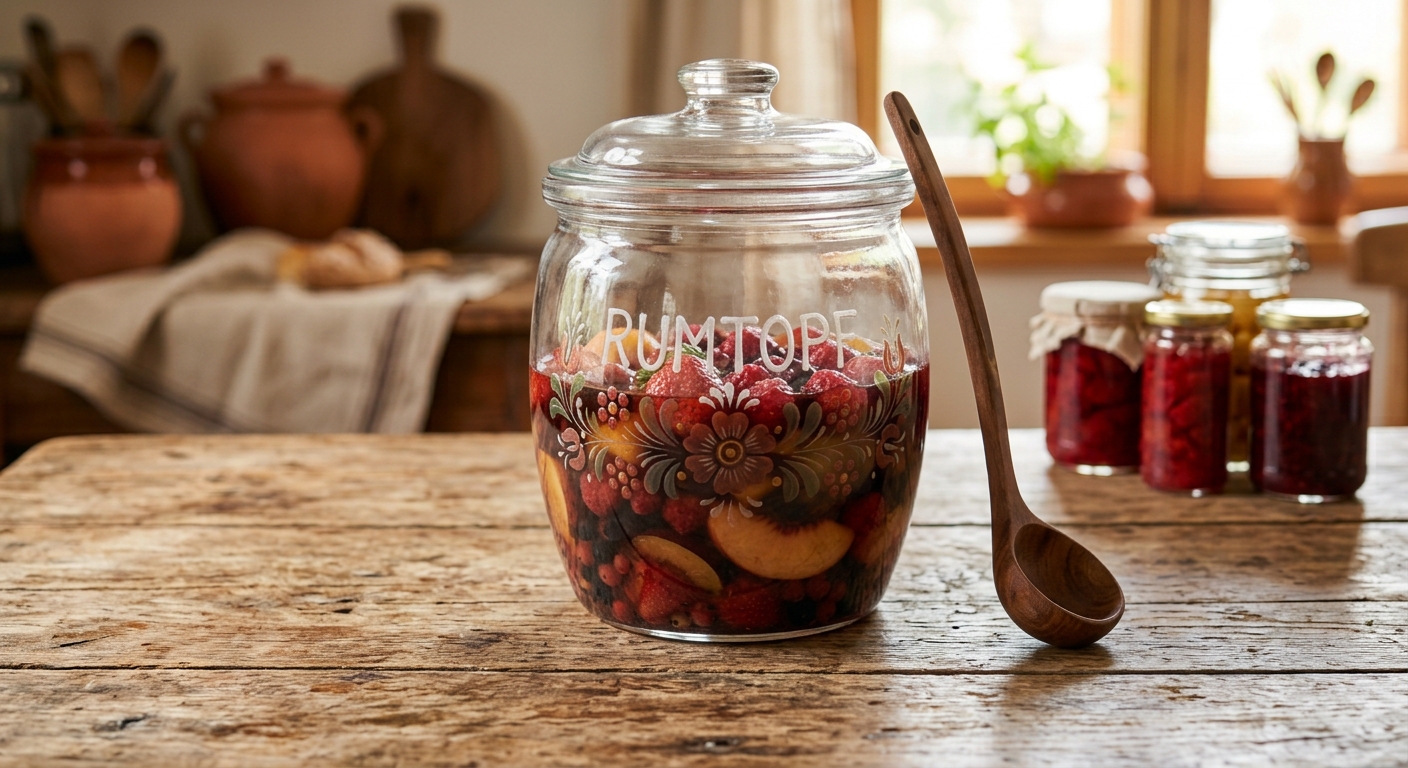
Essentially, it is a collection of seasonal fruit preserved and macerated in sugar and rum. Traditionally, the Rumtopf is started with the first soft fruit of the year, usually strawberries.
Remove the green parts but keep the fruit as whole as possible.
Place a layer of fruit into the Rumtopf, a tall earthenware pot, and cover it with a layer of sugar. Traditionally, the sugar is used in roughly equal weight to the fruit.
Finally, add enough rum to cover the fruit by about an inch. Place the lid on top and leave the pot in a cool, dark place.
As the seasons progress, new fruit can be added following the same procedure. Strawberries, cherries, currants, gooseberries, raspberries, peaches, plums, apples and pears — whatever takes your fancy.
Many people prefer to make separate batches for red and yellow fruits, or to use red fruits only.
By the Winter Solstice, you should have a lovely jug full of highly potent 'fruit salad' — a warming and wonderfully scrumptious accompaniment to ice cream and other desserts.
And what sweet memories of summer it preserves for the dark days of winter.