Imbolc Awakenings
Imbolc Reflections: The Return of the Light and the Stirring of Life
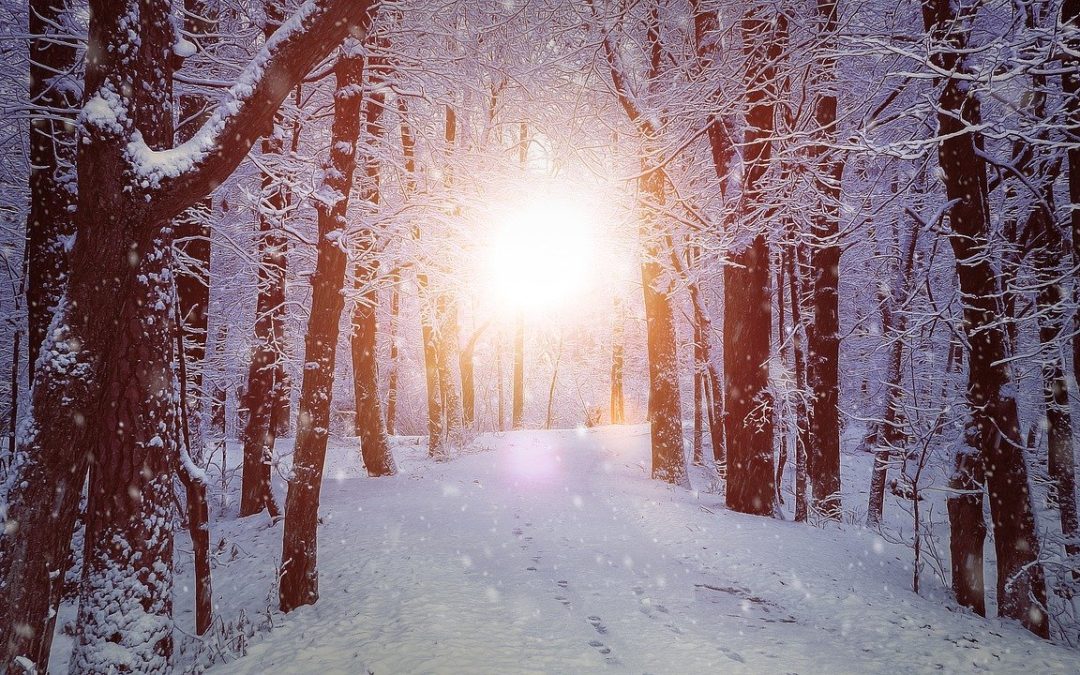
Winter is still with us, though it has entered a moody and changeable phase. One day it is frosty, stormy, and inhospitable; a few days later, the sun pops out to tease us with warmth and brightness. And yet, despite winter’s lingering grip, there is one unmistakable sign that something has shifted: the days are noticeably longer now. Light is returning, minute by minute, almost imperceptibly, but with unstoppable determination.
Imbolc marks this subtle turning point of the year. At the beginning of February, it stands midway between the Winter Solstice and the Spring Equinox, heralding the first stirrings of new life, the breaking of the waters. In nature, the snow and ice begins to thaw.
Traditionally associated with Brighid, the Maiden Goddess of light, fire, poetry, and healing, Imbolc celebrates the increasing warmth of the sun and the promise of renewal and fertility of the Earth. Each passing day brings a few more precious minutes of daylight as the sun climbs higher in the sky.
To be sure, it is still winter. Frost may still coat the ground, and cold winds still remind us that the season has not yet released its hold. But if you look closely, signs of awakening are everywhere. Buds swell on bare branches, full of energy and intent. Beneath the soil, last season’s seeds soak up the moisture, preparing for germination. The sap begins to gurgle and rise again. The wheel of the seasons is turning, even if the movement is slow and largely unseen.
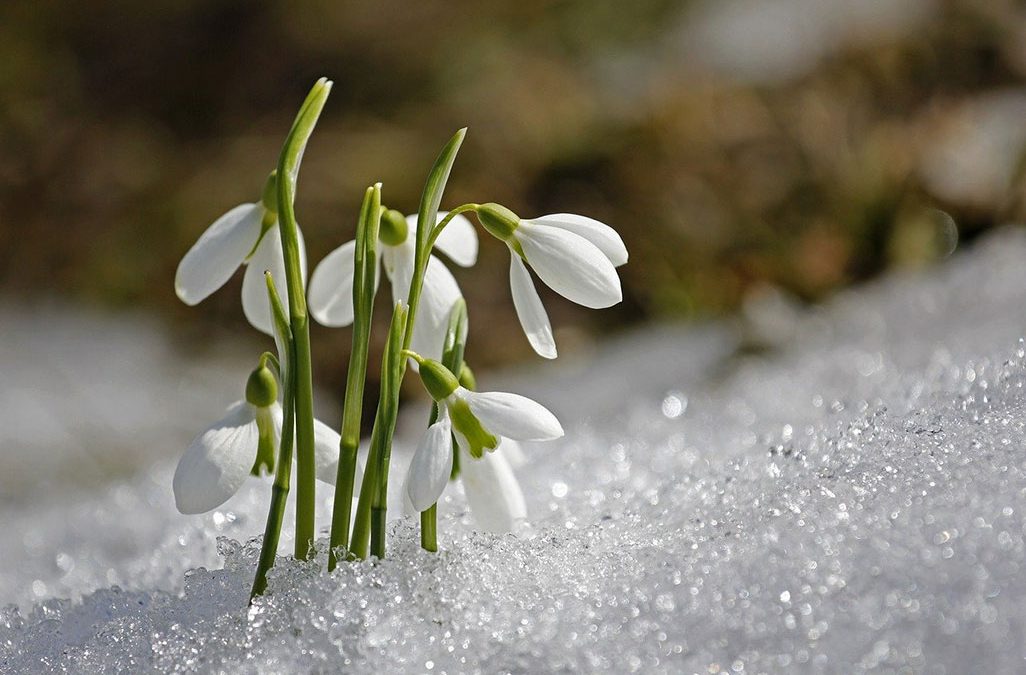
Some plants announce this change bravely. Snowdrops pierce frozen ground, their white bells nodding gently above leaf litter and snow. Winter aconite flashes sudden gold in dark corners of the garden. Dwarf irises and other early bloomers defy the odds, reminding us that life does not wait for perfect conditions. The life force stirs deep within the Earth, and within ourselves.
Imbolc, Candlemas, and the Theme of Purification
Imbolc is also known as Candlemas in the Christian calendar, a festival of light, cleansing, and spiritual preparation. Traditionally, this was a time of purification — both inward and outward — preparing body and soul for the coming cycle of growth.
In the past, this marked the approach of Lent, a period of fasting and abstinence. Heavy winter foods were gradually reduced, allowing the body to cleanse itself and regain vitality after the long months of cold and scarcity. This rhythm mirrored nature’s own process: a shedding of excess, a clearing of space, a readiness for renewal.
Symbolically, Imbolc invites us to do the same. To let go of what no longer serves us. To simplify, to clear, and to make room — not through force, but through gentle attention and care.
Plants of Imbolc: Messengers of the Light
Imbolc is deeply connected with plants that signify resilience, purity, and renewal. These plants can be braided into the season as symbolic and practical points of connection.
Snowdrop (Galanthus nivalis)
A classic plant of Imbolc, snowdrops symbolise hope, purity, and determination. Their appearance amidst frost and snow marks the first visible sign that winter’s harsh grip is waning.
Hazel (Corylus avellana)
Associated with wisdom, inspiration, and poetic insight, hazel is sacred to Brighid. Hasel is a transmitter of cosmic energies and symbolizes inner knowing and the spark of creative vision that emerges during this liminal time.
Birch (Betula spp.)
A tree of beginnings and renewal, birch is often one of the first trees to leaf out after winter. It symbolises purification, fresh starts, and the clearing out of the old and unneeded.
Almond (Prunus dulces)
In Mediterranean climates, the Almond tree is an early harbinger of spring. Its pinkish white flowers adorn the still barren landscape, a promise of abundance and fecundity to come.
Rosemary (Salvia rosmarinus)
An evergreen herb traditionally associated with memory, clarity, and protection, rosemary bridges winter and spring. Its resilience reflects the continuity of life even during dormancy.
Imbolc as a Time of Vision and Intention
Imbolc is a threshold — a liminal space between what has been and what is yet to come. At this time, a space opens allowing us to pause and look inward. To reflect honestly on our strengths and weaknesses, our virtues and our shadows. To ask ourselves difficult but necessary questions.
What nourishment does your soul need now?
What intentions are quietly forming within you?
How do you wish to give back to life as the year unfolds?
Are you walking your talk?
Imbolc is a time for purification, vows, affirmations, and quiet commitments rather than grand declarations. Seeds — literal or symbolic — are selected, setting intentions. Tend to your inner flame and protect it from harsh winds and careless neglect.
Growth begins long before it becomes visible. The light is still dim, but it is growing steadily. Tend it gently. Soon the sun will rise higher, its warmth growing stronger with each passing day. And when it does, life — both within and without — will surge to fullness once more.