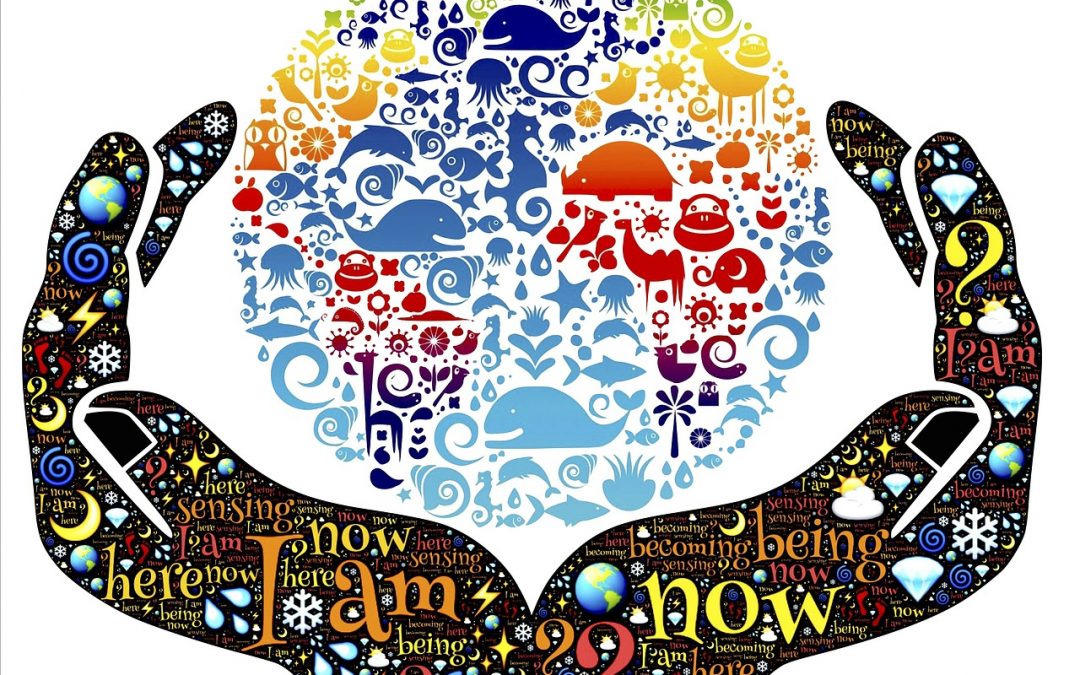
The art of natural dyeing comprises a huge body of knowledge. Sadly, it has been fading ever since the discovery of tar-based pigments at the beginning of the 19th-Century. Natural dyeing methods and the intricate arts of natural textile design are fast becoming another relic of times gone by.
Unlike birds with their flamboyant feathery attire, human beings are not born with a naturally colourful outfit. The birthday suit varies in tone, but no matter what, it is pretty plain. We have to draw on our own ingenuity and creativity when it comes to designing our apparel.
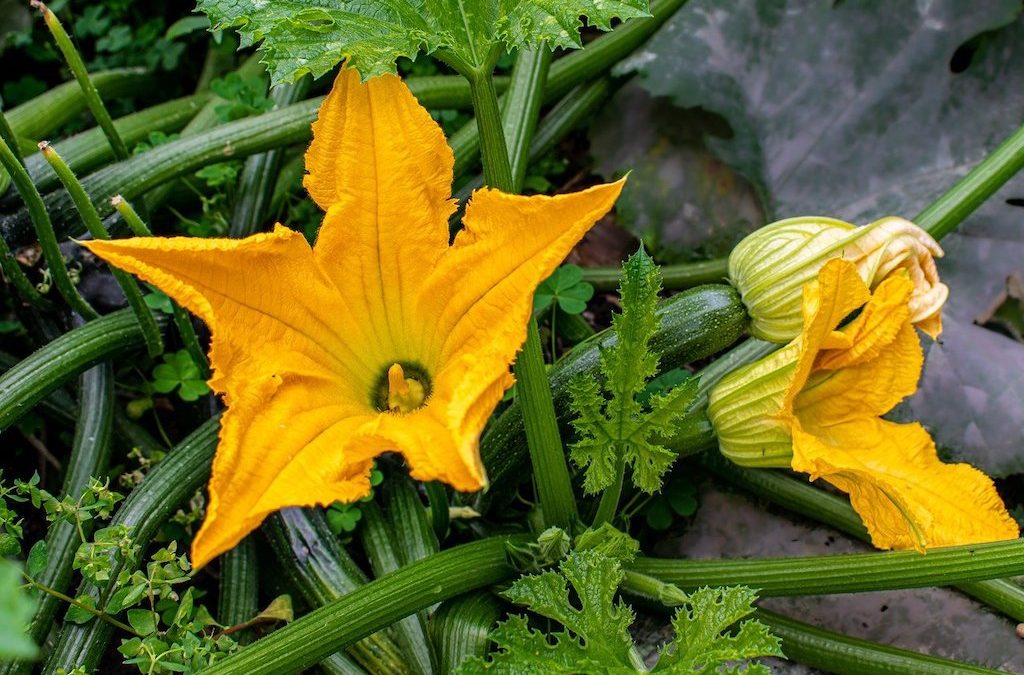
A true game-changer in our human quest to stand out has been the discovery of how to use the colours of nature to our own advantage. The search for natural dyes is as ancient as it is universal. No matter which culture we examine, all have experimented and explored every conceivable source of pigments in their environment. Everything from shellfish to lichen, not to mention roots, barks, leaves, berries, fungi, and even flower stamens have been explored for their potential as a dye.
Body-paint
Even societies that traditionally pay little attention to clothing still use pigments to paint their bodies. Such body paints are typically obtained from ochre, chalk, and charcoal and usually used on special occasions such as rituals, healing ceremonies, or initiations.
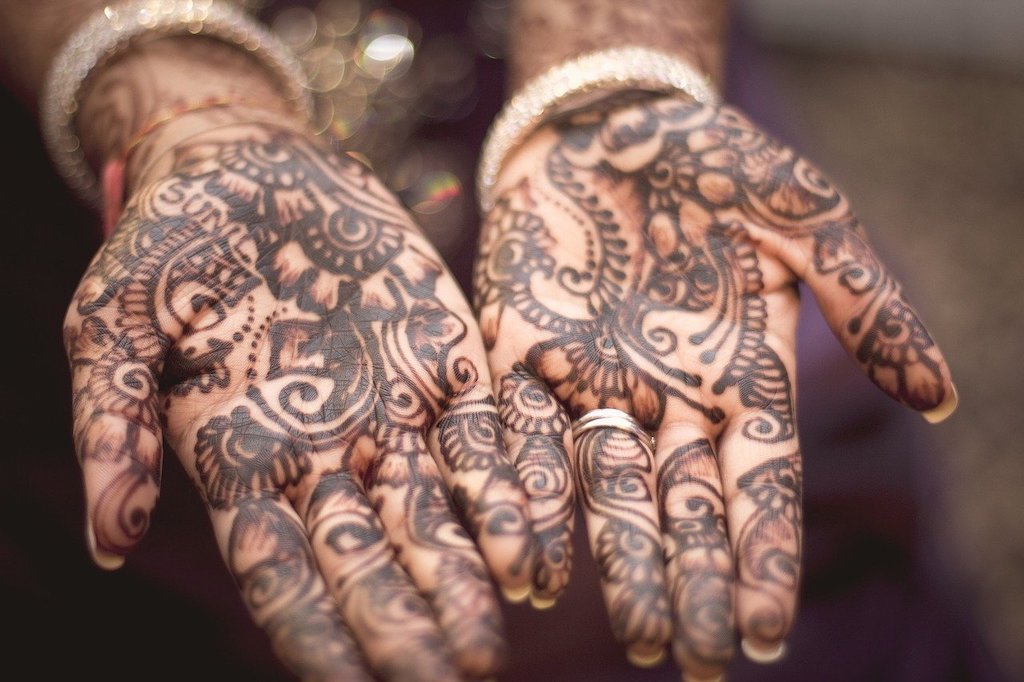
A slightly more elaborate (and more permanent) type of body ornamentation is seen in the art of tattooing. But permanence is not necessarily always desirable. Being able to change design from time to time would certainly be nice. Certain vegetable dyes are used in this way. They last for a few days, at least, but not forever. before long they will wash off, thus leaving the ‘canvas’ clean for new designs. The best-known vegetable dye for temporary designs is Henna (Lawsonia inermis). Body painting with Henna is still widely practised in the Middle East and in Asia. It is an integral part of traditional wedding preparations.
In the West, Henna is mostly used as a popular hair dye, and nowadays also for temporary tattoos. In South America, indigenous people use Achiote (Bixa orellana), and Huito (Genipa americana), as body paint or dye.
Colour as code
But colours express more than just artful fancy. Practically all cultures associate certain colours with specific meanings. Colour is an essential key to the mysteries, which can unlock the significance of a whole complex of symbols. For example, the four directions are universally colour-coded, although different from one culture to the next. The colour encodes a whole network of associations – e.g. the East is the direction of the rising sun, of new beginnings, of birth etc. and its colour is often yellow, or white. The relevance to the topic of dyes is that the plants and materials which yield dyes have also become part of the symbol complex.
‘Show your true colours’
We still use colour in this way today, although usually in a secular context and more often than not, we are not even aware of it. We paint political parties red or blue, speak of ‘the grey (indistinguishable) masses’, or label things ‘green’, if they are eco-friendly. Different social groups still follow an unspoken dress-code – business people prefer greys, whites, beige, or dark blue, while Goths wear black. In the West, white is associated with purity, while in India, it is the colour of the dead and of ghosts.
Likewise, traditional costumes also convey much more than meets the uninitiated eye. Every piece of clothing signals a specific message informing those in the know as to the social and marital status of the wearer. This message was woven as pictographic symbols right into the fabric, or colour-coded into the design. Other items of clothing, worn only at certain times, e.g. during a hunting expedition, or for certain rituals, were covered in colour-coded protective symbols to act as spells.
Colour as a status symbol
Some natural colours are exceedingly precious due to the rarity of the substance that yields them. Royal purple is derived from molluscs, and not easy to come by. For a long time, it was a prerogative reserved for royalty to wear this colour.
Nor could an ordinary mortal afford it, given the extraordinary price tag. In Roman times (400AD) a pound of cloth dyed in royal purple costs the equivalent of $20.000! The mollusc was already endangered and very rare. And, as is often the case, the symbolic value drove up demand which in turn catapulted the price into an intergalactic orbit. As a result, the status association was reinforced.
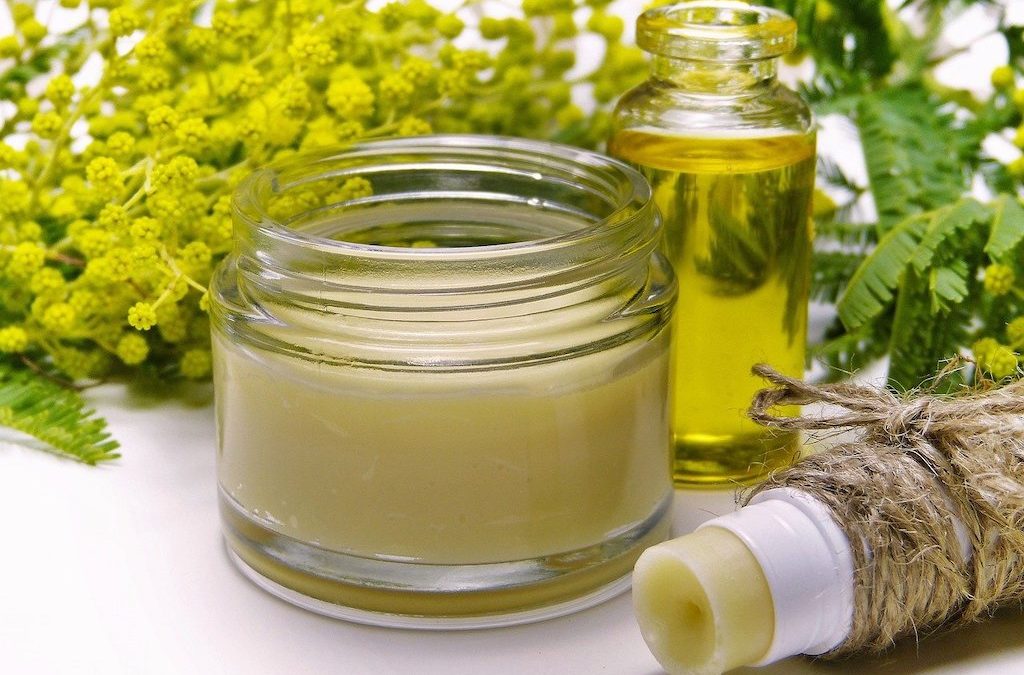
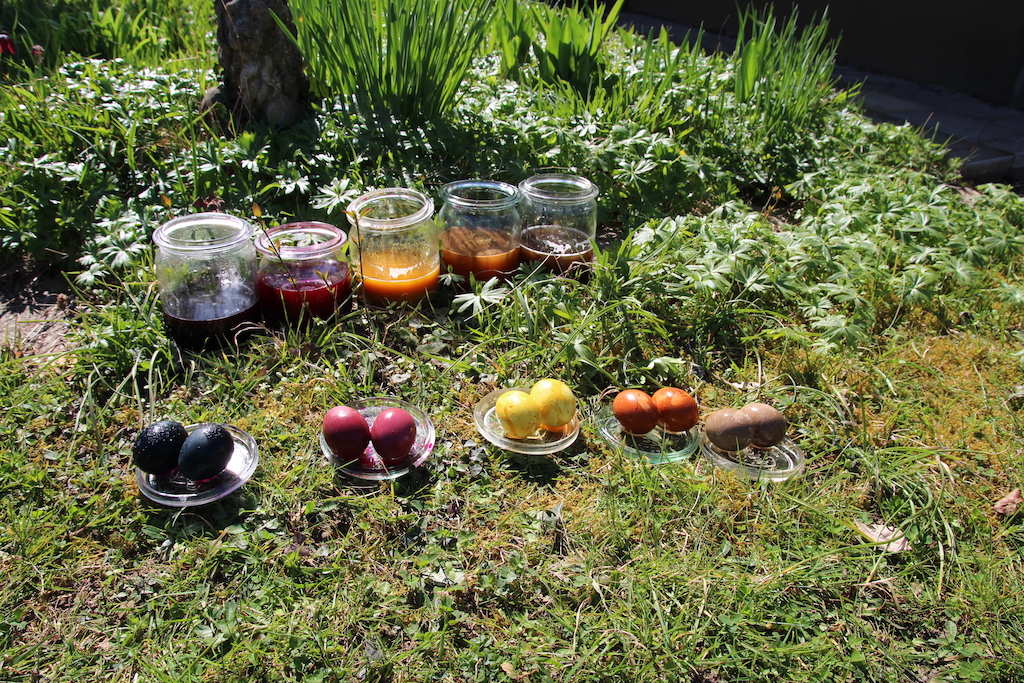
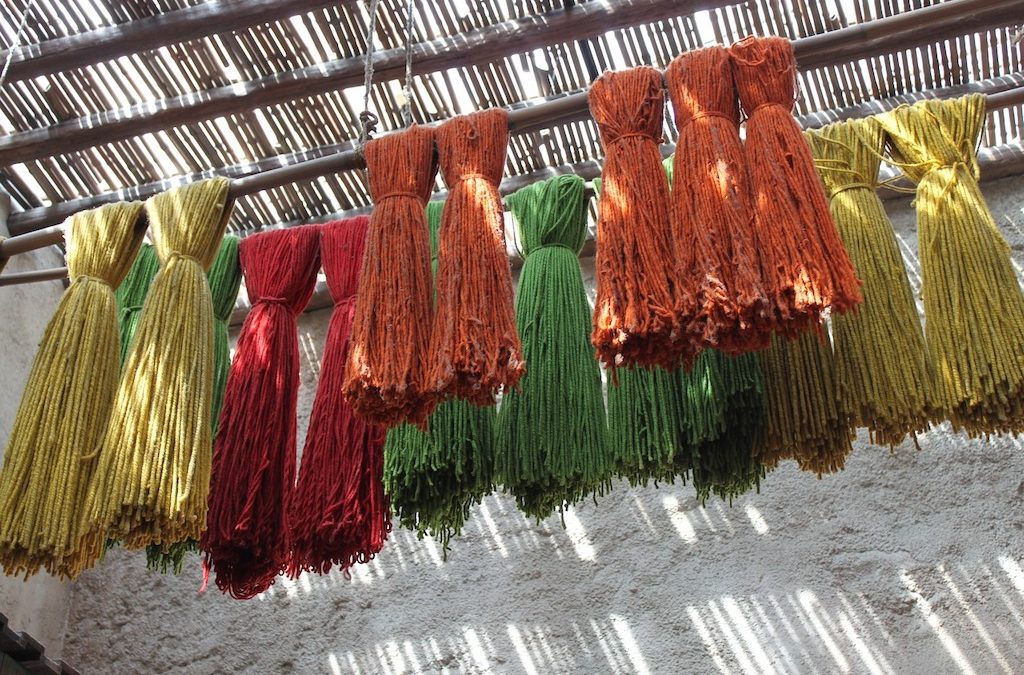
Other colours, such as those obtained from walnut shells, or onion skins, or lichen were more easily available and widely used – despite the time-consuming process. Large amounts of plant materials had to be gathered; the linens and skeins of wool had to be prepared with a mordant to render them more absorbent and a fixative added in to fix the colour so it does not fade too quickly in subsequent washes.
The art of natural dyeing comprises a huge body of knowledge. Sadly, it has been fading ever since the discovery of tar-based pigments at the beginning of the 19th-Century. Natural dyeing methods and the intricate arts of natural textile design are fast becoming another relic of times gone by.
How to dye wool, using natural materials
Preparing the wool:
In order to prepare the yarn, it has to be gathered up into skeins and tied loosely but securely with a piece of yarn of the same material. The first step is to thoroughly wash the skeins. If you want to experiment at home, use natural wool as this is the easiest material to prepare.
All the natural oils in the wool have to be removed, so use a mild flaked natural soap, so that it will dissolve easily in hot water. Rinse the wool with several rinses of hot water to wash out all the soap.
Mordants
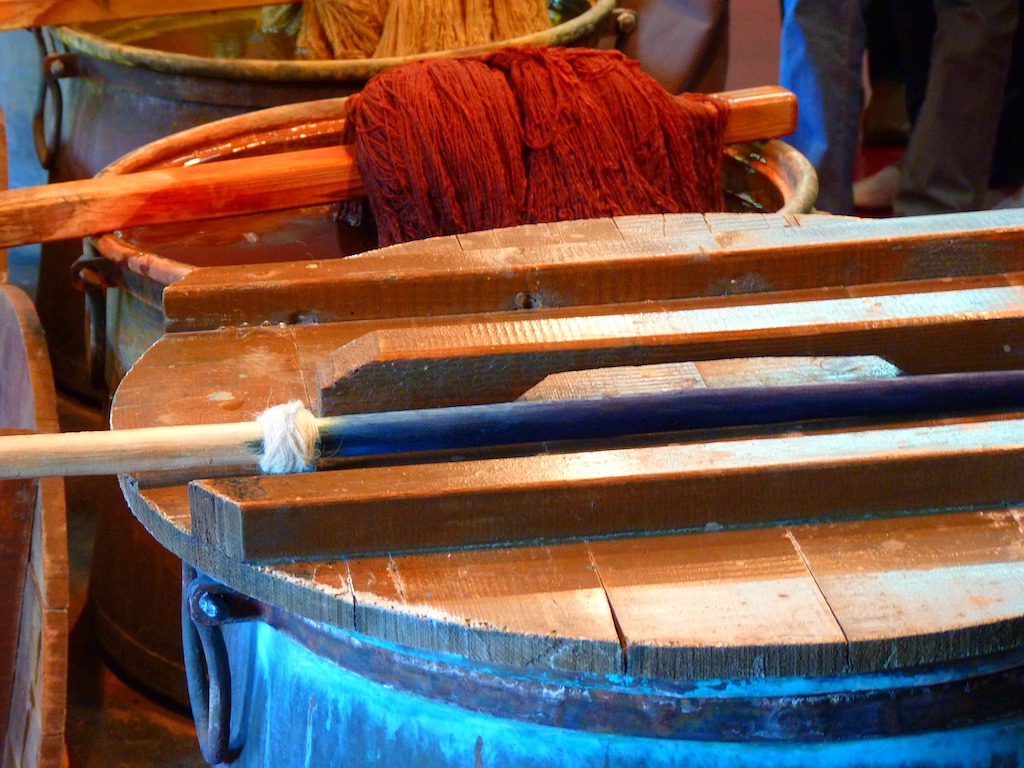
The washed yarn is now ready for the mordant bath. Depending on the mordant different shades of colour can be achieved using the same plant material. Commonly used mordants are alum, copper sulphate, iron sulphate, tin or chrome, which are toxic! (Keep out of reach of children!)
Due to this toxicity, some people prefer to do without. But without the mordant or the fixative the dyes are not colour-fast. They will run very easily in the next wash.
To produce a stronger colour one can ‘over-dye’ the skeins, i.e. submit them to several treatments in the dye bath. Only do this with yarn, not with finished pieces of textiles, or knitted jumpers since they will shrink in the hot dye bath.
The most commonly used mordant is Alum, which is another way of saying ‘potassium aluminium sulphate’. Sometimes the wool is subjected to several different mordants to achieve a different shade of colour.
Equipment
Dyeing does not require a whole lot of equipment, but as the mordants are toxic, it should always be done outside.
Tools:
- large pot
- stick, or large spoon.
- Gloves
Set them aside as dedicated utensils for this purpose only.
Never use them for cooking after you have used them for dyeing.
Ingredients:
- 4 oz aluminium sulphate
- 1 oz cream of tartar
- 1 lb wool
- Water
Method:
To mordant the wool follow this procedure:
Place the aluminium sulphate and the cream of tartar in large pot of cold water. Stir well to dissolve the powders. Once the powders are fully dissolved place the wool into pot and slowly bring the mordant bath to a boil. Turn down the heat and simmer gently for 1 hour. If the wool is very fine and soft, less mordant and a shorter boiling time is sufficient.
After 1 hour, take the pot off the heat, drain and gently squeeze out the liquid. (Wear gloves!) The wool can be dyed right away, or it may be dried and stored for later use.
For the dye bath, it is usually best to use fresh plant materials, but make sure you either pick them from your own garden, or from a place where the plants are in plentiful supply.
Use about 1 lb of plant material per 1 lb of wool skeins.
Place the plant materials into a muslin bag and tie securely.
Place the dye pot on the stove, ¾ full of water.
Add the muslin bag of dye material and submerge it well.
Place the skeins of wool into the pot and slowly bring to the boil, then turn down the heat and allow to simmer for about one hour.
Stir occasionally.
After an hour, turn off the heat, but leave the skeins in the water until it is cold, or when you deem the colour to be just right. Lift out the skeins (a pair of metal tongues will help), and rinse in water of the same temperature.
When the water runs clear, you can hang the skeins up to dry. (A suspended rod will do fine)
Fix a light weight to the bottom of each skein to prevent crinkling.
CAUTION: Mordants are mineral based substances that are highly toxic. Such substances must be handled with due care. Wastes must be discarded properly. Wear protective clothing (especially gloves) and avoid inhaling the fumes. Dyeing should preferably take place outside.
The information given here is for educational purposes only.