Preserving the Harvest (1)
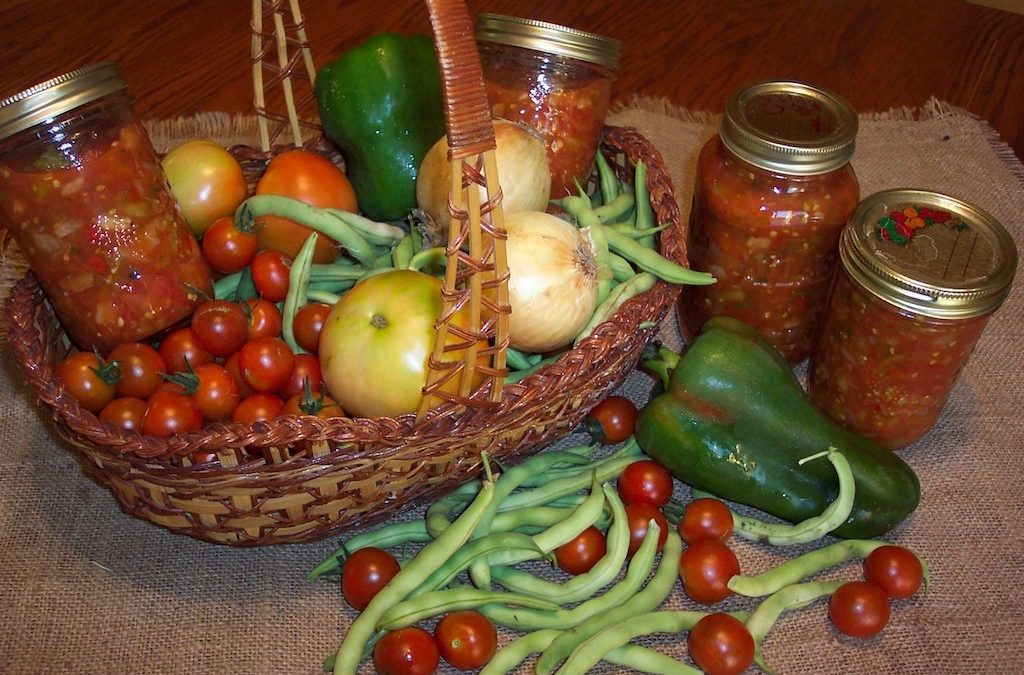
This article is about ways to preserve the harvest. Making your own pickles and preserves, jams and chutneys, liqueurs and canned veggies is a great way to celebrate the abundant gifts of nature. If you can get the kids involved, it is also a wonderful opportunity to bond and share stories while teaching them essential life skills.
Not too long ago, gardening and making one's own food was considered old-fashioned and tedious work. It was something that belonged to the domain of Grandmothers and country bumpkins. Why bother, if all you need to do is to go down to the supermarket?
But things have changed. Soaring food prices, GM technology and a growing concern over dubious agrochemicals that have crept into our food supplies, more people have turned to gardening and making your own is fashionable again.
While the garden may not cover all your food needs, even producing some of your own food is uniquely satisfying. However, there is one problem: living in a temperate climate, with a limited growing phase, we are subject to the 'feast or famine’ phenomenon. The harvest is plentiful during the warm part of the year, but there is almost nothing to harvest during the winter.
With any luck, the harvest is plentiful enough to provide for the cold season as well - but how can we preserve the abundance, so when winter comes we can still enjoy the fruits of the previous season's labor. What delight it will be then to have tasty reminders of the summer's plenty.
Freezing
These days, freezing is usually considered the easiest and quickest method to preserve anything. It certainly is convenient - if you have a very large freezer, that is. However, it is not a very energy efficient method, and nor is it particularly reliable. Power cuts occur with worrying frequency. And they spell disaster for anything that is stored in the freezer, unless you have an independent back-up power supply.
Luckily, there are many other options as we can learn from history. How did people manage to store things in the days before electricity lit up our world? After all, it is a fairly new invention!
It turns out, our ancestors have been incredibly innovative when it comes to devising methods of preserving foods, although not all are equally suitable for all types of foods and vegetables.
To begin with, it is helpful to consider the growing cycle. The natural life cycle of a plant starts with germination. Gradually, the plant develops and grows and eventually reaches its peak. This process is known as maturation. Most plants are harvested at their peak. From that point on they begin to decay.
No process of preservation can halt this natural cycle of growth and decay, it can only slow it down, or in some ways, progress it. The ultimate aim is to preserve as much of the mineral and vitamin content of a given fruit or vegetable as possible.
Clamps
In the old days, root vegetables such as potatoes, carrots and parsnips were stored in the cellar. They were kept in boxes filled with earth, which were periodically sprinkled with water to keep them moist. In fact, the original purpose of cellars was to provide a cool, dark storage space for foods. Originally, they would have only had a dirt floor. This creates a moist, cool atmosphere that is able to ‘breath'. Unfortunately, modern houses, with their concrete foundations, insulated basements and concrete floors are much less suitable for storing vegetables. That is why people came up with the idea of these special boxes, which imitate the natural conditions.
But even without any kind of basement it is still possible to store vegetables - in a ‘clamp’. A clamp consists of a mound of root vegetables that is laid out on a thick layer of straw, which in turn is covered with earth. Alternatively, one can dig a pit. The base is laid out with wooden planks and straw. The vegetables are stored in the next layer, which is covered and covered with sand and earth. (For instructions, check with a good book on self-sufficiency).
It is important to ensure ventilation - e.g. by allowing the bottom layer of straw to peek through beneath the covering layers of soil. Unfortunately, these methods only work in places where winter temperatures don't fall too low.
Carrots can be stored in containers filled with sand (or in clamps, as described above). They should not be washed and must not be damaged, otherwise they will rot. The green parts should be removed.
Sunchokes, parsnips, leeks, celery and Brussels sprouts can remain in the ground. Mild frosts don't bother them. If need be, a layer of soil, straw or mulch will protect them against damage from hard frosts. Cauliflowers can be 'planted' (with roots attached) in boxes filled with sandy soil. They should be sprinkled with water once in a while.
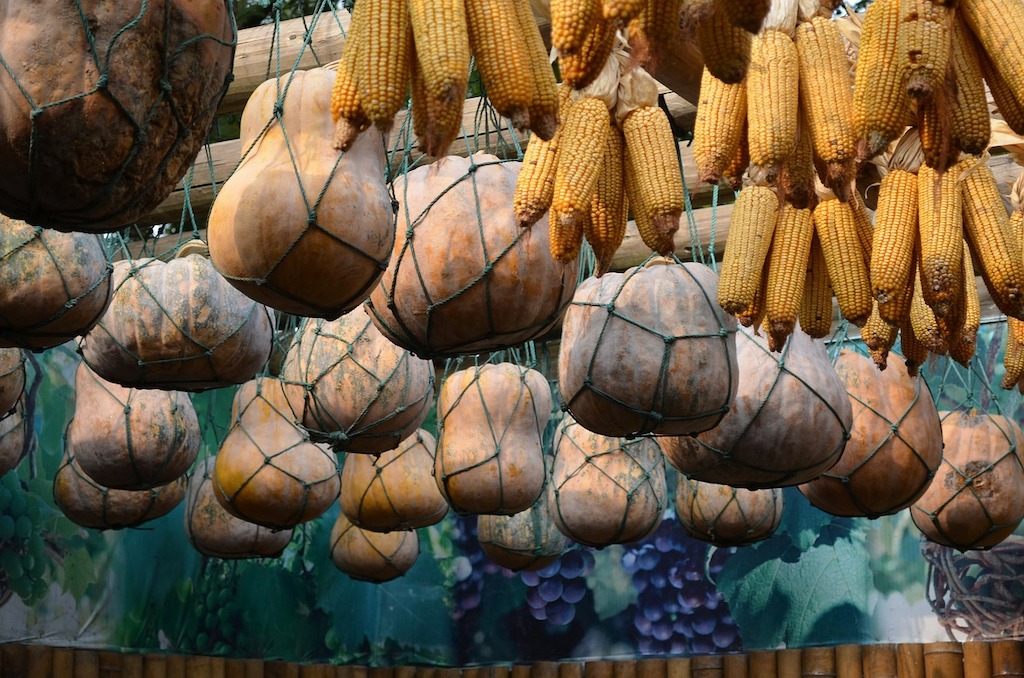
For a limited period of time, cucumbers, melons and pumpkins can be stored in suspended nets. But their high water content makes them liable to rot, especially if they have been bruised.
Onions and garlic should be spread out in the sun until the outer layers dry and turn papery. Thereafter, they can be bundled and hung.
Apples can be stored in a cool, moist, but aerated basement. But, they must be handled gently. Bruised apples will rot. Late varieties are more suitable for long-term storage. Early varieties are better used for immediately. Ideally, apples should be picked as late in the season as possible, when they come off the tree without effort. They should be spread out to dry for a day or so, and then stored singly (wrapped in paper, if possible) and placed on a shelf or in small cardboard storage boxes. Pears can be stored the same way, but prefer slightly cooler temperatures.
Chestnuts keep well in clamps. Check for tiny holes in their shells, which is a tell-tale sign that they are infested with worms. Pulses and grains can be stored in hessian bags. The bags can be treated with neem spray to deter bugs. Shake the bag occasionally to inhibit the development of insect larvae.
Dehydration
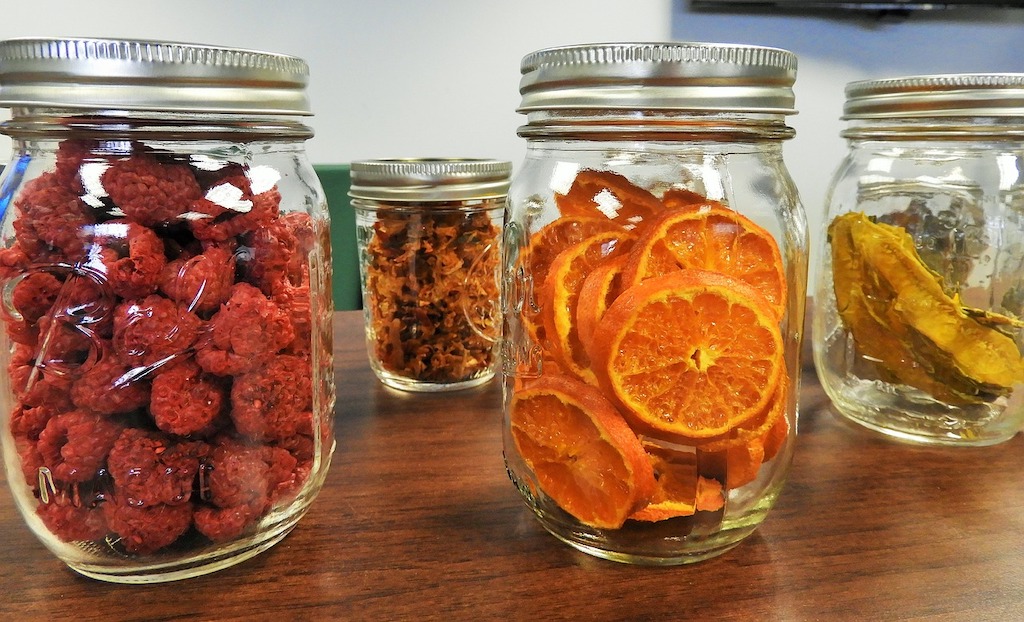
One of the best methods to preserve fruits and vegetables is to dehydrate them. This method has the advantage that the ‘natural goodness' is largely preserved, since only the water is extracted. In hot and dry climates, vegetables and fruits can be dried in the sun, or on special racks. In the colder time of the year, the rack is placed near the fire place or oven. It is difficult to sun dry fruit and veggies in modern apartments. However, one can use the oven to help the process. Arrange the prepared fruit on racks (rather than cookie sheets) that are lined with baking paper. Obviously, thin slices dry faster than thicker ones and juicy fruits take longer than dryer types. The greatest difficulty is to get the temperature right, since many of the nutrients are destroyed at temperature above 40°C. The lowest setting on the dial is usually 50°C degrees (100F). It is better to dry things at a lower temperature for a longer period of time. Keep the oven door slightly ajar to modify the temperature and to let the steam escape.
But even so, keeping the oven running for long periods of time is not very energy efficient and is also a nuisance during the summer, when it is difficult enough to keep the room temperatures bearable.
The best option is a dehydrator. The lower the wattage, the lower the electricity use will be. The best models are expandable (all you to add extra racks), have a timer and an accurate temperature regulator.
To prevent discolouration dip fruits that are vulnerable to oxidation in lemon water (50:50) before drying them. This preserves the natural color. Once dry, and aired out, store the dried goods in air-tight containers (storage jars). Dried fruit and vegetables can keep for ages, as long as they are stored properly. But if they absorb moisture from the atmosphere they will go moldy.
Very juicy fruit should drain for a period of time to reduce the amount of moisture (e.g, pineapple) before drying. Cut the fruit to the desired size and drain in a colander for at least an 1 hour.
Air-drying fruit also has advantages and disadvantages. The main advantage is that it saves on electricity and can be done at a lower temperature, which preserves the vitamins. The disadvantage is that the drying fruit will attract fruit flies. Prolonged drying also encourages mold.
Drying fruit and vegetables correctly requires a bit of practice. Dehydrators make the process a great deal easier and less messy. A major advantage is that the dried material takes up much less space which is handy for storage. Also, dried fruit and veg keep well for long periods of time if stored correctly.
Fruit Leather
Spread pureed fruit blended with honey and ground almonds, or hazelnuts on baking paper, and dry. Fruit Leather is a very popular snack that also makes an excellent, instant energy, hiking food.
Dried vegetables can be rehydrated by soaking them for a few hours in enough water to cover them; slowly cook them with the remaining water. It took time to remove the water, and it takes time to reabsorb it. If prepared too quickly the veggies will be chewy. The smaller and thinner the slices, the quicker they will reabsorb the water.
Lacto-fermentation
Everybody knows (and some actually love) Sauerkraut. But not all Sauerkrauts are created equal. Most commercially available types are produced using salt and vinegar and are pasteurised, which unfortunately, kills off the probiotic substances that make fermented foods like Sauerkraut so beneficial.
Sauerkraut is not the only way in which Cabbage can be fermented. A more interesting variation (to my taste, at least) is Korean Kimchi, which consists of a combination of different vegetables and spices. There are dozens of recipes and plenty of scope for experimentation.
The method of lacto-fermentation is simple, providing one has the right equipment. It does not take much, except a special fermentation crock-pot with a grooved rim. This rim should be half-filled with water, which, once covered with the lid, creates an airlock that prevents air borne bacteria or fungal spores from entering the pot. Another necessary item is a stone or weight to push down the vegetables and keep them submerged in the juices. For smaller amounts, airtight jars (pickling jars) can be used instead.
Cabbage, carrots, cauliflower, onion, garlic, horseradish, celery, bell peppers and pepperonis are well-suited for lacto-fermentation.
Suitable pickling spices include mustard seeds, peppercorns, allspice, juniper, cloves, fenugreek, ajowan, coriander, cumin, chillies, dill, fennel, tarragon, and bay leaves.
Finely cut or shred the vegetables and pack them tightly into the crockpot; sprinkle the spices between the layers of veggies. As the final layer, cover the veggies with a large cabbage or horseradish. Horseradish leaves will help to prevent mold. Prepare enough brine (1oz salt per liter of water) to pour over and cover the vegetables, but don't fill the jar all the way to the top. (You can add a little whey to aid the fermentation process).
If you use fermentation crock-pot, half fill the rim with water (air-lock), place the stone on top of the vegetables and cover with the lid. Keep an eye on the water level in the airlock and replenish with water if it starts to evaporate. Place the jar or crockpot in a warm place for about 10 days, then move it to a cool one for another 6 weeks. Remove any mold that may have formed on the surface. Avoid removing the lid unnecessarily.
Canning
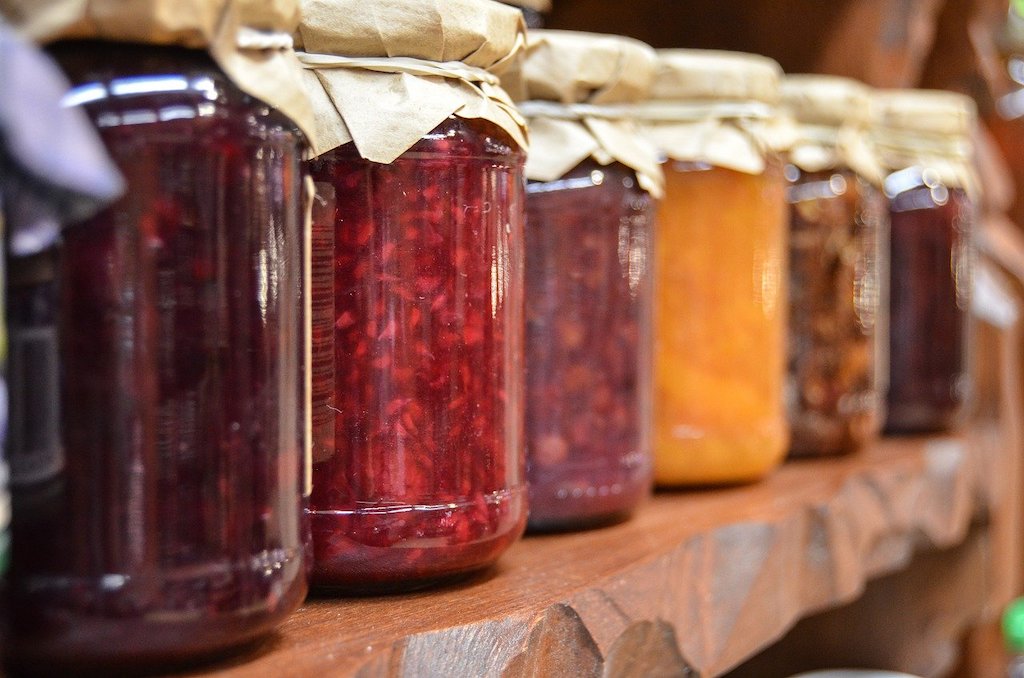
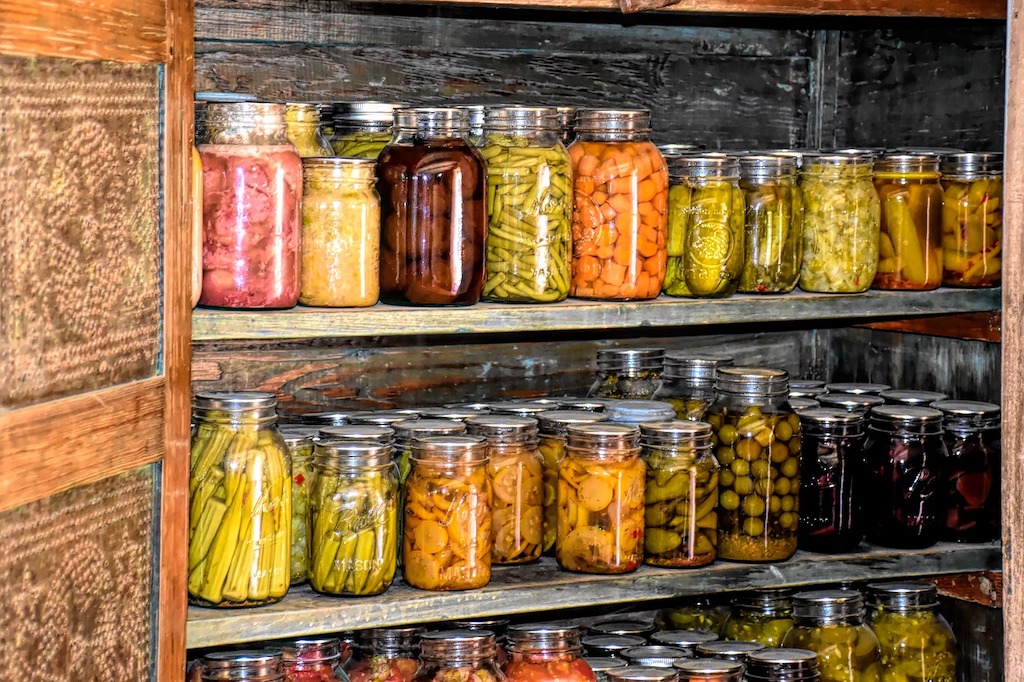
Canning is a great way to preserve foods. Almost anything can be canned and stored for later - and canned goods keep indefinitely, theoretically, at least. In practice, it is recommended to use canned foods within a year or two.
There are basically two different canning methods, one that is suitable for high acid foods, such as fruit, juices, and pickles, and one that is suitable for low acid foods, such as most vegetables, or meats.
There are many good canning recipes and it is best to choose a tried and tested one to avoid disappointment - especially if you are new to canning.
High acid foods are a little easier to process, as they do not require extreme heat to preserve them. Ordinary boiling is sufficient as the acid content inhibits the growth of harmful bacteria. Certain kinds of equipment make the process a great deal easier.
To preserve high acid foods, you need a large pot and rack (for holding the jars in place above the bottom of the pan), canning jars with two-part lids (lid with a rubber rim and band), a canning funnel, a jar lifter and lid magnet. A 'head space' measuring tool and bubble remover can also be useful.
The most important thing about canning is to make sure that all the equipment is squeaky clean and that the produce is immaculate and fresh. Don't be tempted to preserve items that are on the verge of going off, or you will ruin the whole batch.
Prepare the foods according to your recipe, fill into the jars, and cover with a rubber ring and lid. The lids are held in place with a special little clamp. Canning machines have a rack that is placed at the bottom. If you are using a large pot, you need to find a rack that fits the pot. Place the jars on top of the rack and cover with water . Boil for a set amount of time (according to your recipe) to sterilize the jars.
For a detailed description of the process see:
Low acid foods require more care. Since they lack naturally occurring acids, they must be heated to a temperature that is well above boiling to kill any pathogens that otherwise might spoil the fruits of your labor. To achieve such high temperatures you will need a pressure cooker, preferably a purpose made one with a pressure gauge and thermometer.
As with the high acid foods, it is recommended to use a tried and tested recipe. Fill your food into clean jars, cover with lids and place the jars on the rack. Cover with water and sterilize according to the instructions of your recipe.
For a very useful and detailed description of the process, see this presentation:
Pickling
Instead of fermenting foods, many vegetables can be pickled in vinegar. This method is not as wholesome as the lacto-fermentation mentioned above, since it does not create probiotic bacteria in the process. Acid inhibits the growth of harmful bacteria, which is why it serves well as a preserving liquid.
The most important thing about pickling in vinegar is to use non-metal (except stainless steel) and non-plastic containers. Acids can react with such materials. Use glass or stoneware.
Fruit can be pickled in a vinegar /sugar syrup, to make delicious condiments.
Vegetables are often salted for a period of time (overnight) in order to draw out some of their water and to soften the skin. Wash and simmer them for a few minutes before covering them in vinegar and pickling spices. But not for too long. You’ll want the veggies to stay crunchy.
Some recipes call for a vinegar /sugar others for a vinegar /brine blend. Some recommend the vinegar to first be heated (and simmered with various spices) and then cooled before pouring it over the vegetables, other recipes call for hot vinegar. Pickling provides endless scope for experimentation.
Preserving in Oil
Oil in itself does not ward off bacteria, but it creates an effective barrier and thus prevents oxidation. To preserve vegetables in oil they are usually cooked in either brine or vinegar first, for a short period of time. The idea is to preserve the crunchiness. Place the veggies into a jar and cover with oil. Start with a layer of oil before adding the veggies, as this will prevent air bubbles. Make sure the contents remain covered in oil even once you start to use the preserve. Use good cooking oil - olive oil is ideal, as it has a good balance of fatty acids and resists oxidation.
Preserving in Sugar/Syrup
That sugar isn’t healthy is not the latest discovery of science. It depletes vitamin B1 and calcium and destroys the teeth. However, for certain things sugar is an ideal preserving agent - just as with any other harmful substance, there is a direct correlation between the level of damage and the amount consumed. Sugar preserves include jams, jellies, marmalade, syrup and candied fruit. For jams and jellies it is usually necessary to add pectin (or use preserving sugar) in order to achieve the proper consistency.
If you use lemon or orange peel in your recipes make sure it comes from organic citrus fruit.
Preserving nature's bounty is an art and no novice will immediately master all methods. But it is a great joy to preserve the harvest and to create unique tasty treats, just exactly the way you like them. No commercial enterprise can even come close to that. All it takes is a spirit of experimentation and discovery.
It is also a lot of work - but it is SO worthwhile when, in the midst of winter, you can still feast on jars and cans filled with the sunshine and goodness of the previous harvest.
Resources: