Sugar Maple – A Sweet Miracle
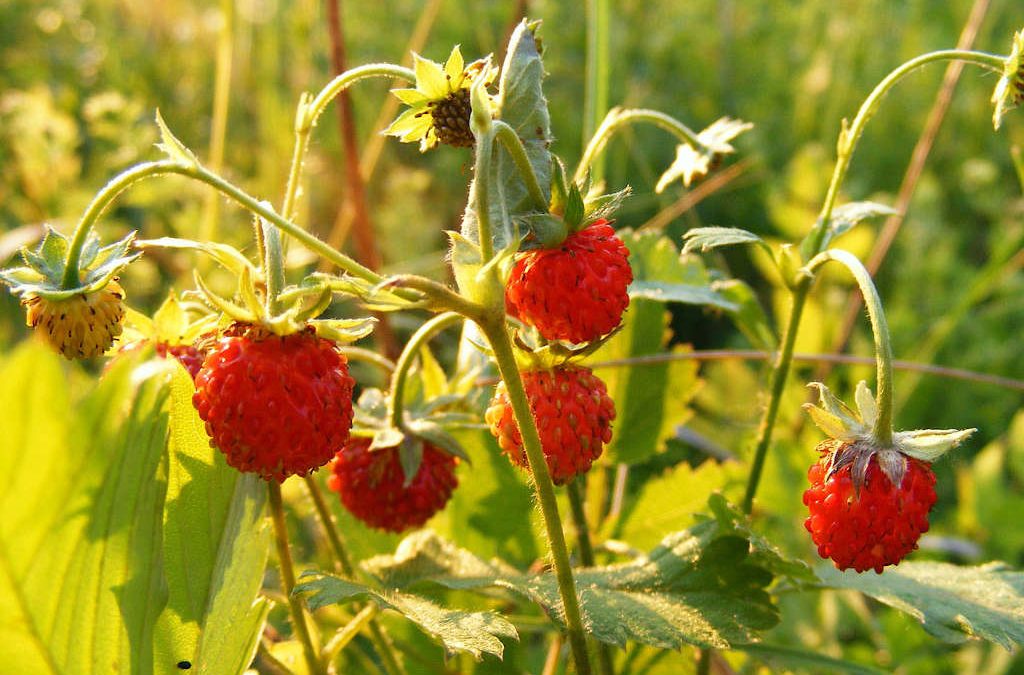
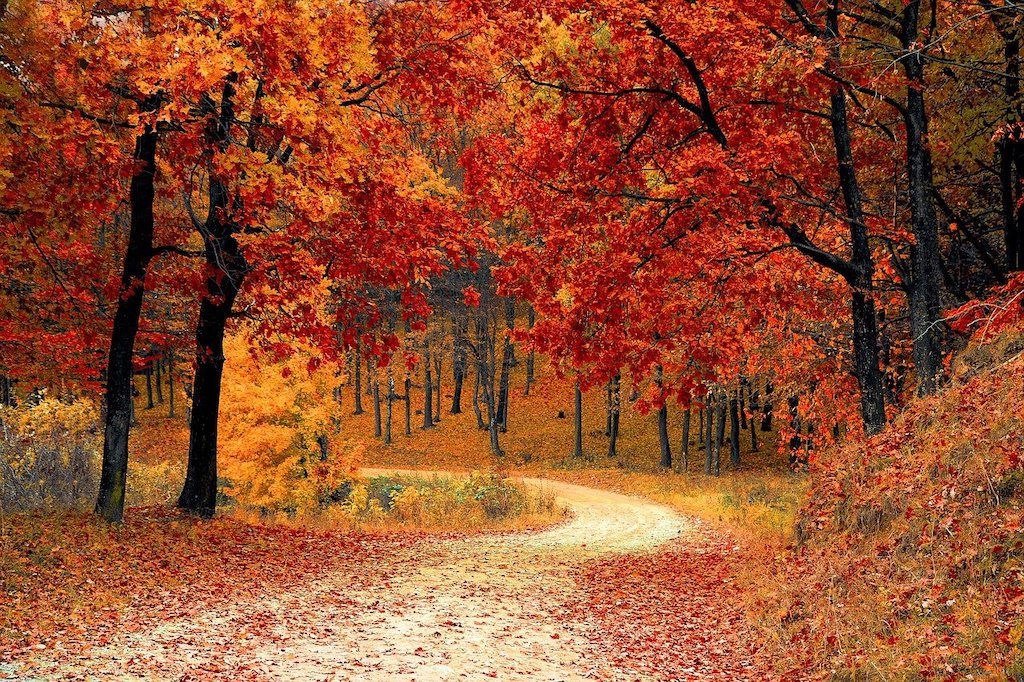
Sugar Maple is an iconic tree of the northeastern parts of the US. In the fall, when its foliage turns bright orange and red, thousands of people come from far away just to dee this fabulous color display. But that is just one facet of this beautiful tree with its rich and varied history.
Botany
Sugar Maple is a stately tree of the Acer family. It can reach a height of up to 130 feet. Its growth rate is relatively slow, however. A mature tree can reach an age of about 200 years. In the southern range of its distribution, it associates with Oaks, while in northern and northeastern regions, it grows among birch and beech woods.
Habitat and Distribution
The Maple Tree family is widely distributed throughout the world. Altogether, there are almost 200 different species and about half of them occur in the northern hemisphere. Most of them are indigenous to central and eastern parts of Asia but some are indigenous to Europe and the Mediterranean. About 13 species, including the Sugar Maple, are indigenous to North America.
Its distribution ranges from southern Canada down to Arkansas, Tennessee, and the southern Appalachian Mountains. Sugar Maple is the dominant and most conspicuous tree of the eastern forests famous for its showy display of brilliant red, orange, and yellow autumn foliage.
Ecology
In the woodland ecology of the northeastern forests, Sugar Maple plays a key role. It provides nourishment for various species including the white-tailed deer and plays host to a number of insects.
Environmental factors are the main threat to the Maple population. The growth of mature trees is decreasing and 'infant mortality' among saplings is increasing, due to acid rain. Because of their shallow but extensive root systems Maple trees are especially susceptible to surface soil pollution. Global warming also poses a threat.
Pigmentation
The striking coloration is due to the breakdown and dispersal of chlorophyll, which reveals other pigments such as carotenes, tannins, and anthocyanin, which react differently depending on the pH level of the soil.

History
Sugar Maple's distinctive palmate leaf has gained world fame as the national emblem of the Canadian flag. It has served as the state tree of four US states (New York, Vermont, West Virginia, and Wisconsin).
Economically, Sugar Maple is one of the most valuable hardwood trees of the northeastern forests of the US. Its wood has a fine grain and is lighter, yet stronger than that of White Oak, making it useful for the manufacture of many household items such as rolling pins, cutting boards, ladles, and spoons. Carpenters, woodturners, and instrument makers value its beautiful close grain. As a durable hardwood, it has also been used for floor boarding and skirting-boards, etc.
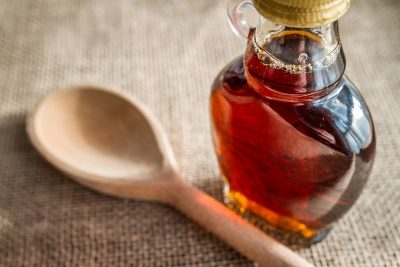
But Sugar Maple is one of the few trees whose most important economical role is not the value of its timber, but the yield of its sweet-tasting sap.
Maple Sugar and Maple Syrup
European settlers first learned about this sap and the technique for tapping it from First Nation Natives, who had been using it as one of their most important food sources for as long as anybody could remember.
Yield
When the snow starts to thaw and life returns to the woodlands, the tree sap begins to rise. Sugar Maple produces copious amounts of sap, which contains about 3% of sugar (on average). To produce 1 gallon of strong-flavored maple syrup requires 30 -4 0 gallons of sap. The sap is boiled down to evaporate the water and thus concentrate the sugar content. The ideal density of 66. 5%. sugar. At higher concentrations, the syrup begins to crystallize while at lower concentrations it can easily spoil.
An average tree yields about 12 gallons of sap per season, which can be turned into 3 pounds of sugar. Large trees (at least 25 - 30 inches in diameter) can sustain 2 or 3 taps. Younger trees with a diameter of 10-12 inches (at about 65 years of age) only sustain one tap.
Maple sugar is now produced on a commercial scale. Enormous amounts of sap are tapped for local as well as for international consumption. Vermont is the largest producer in the US today, followed by New York and Maine. However, Canada is the largest producer worldwide, covering about 75% of the international demand. Other species of Maple also contain sweet sap and can be used to obtain syrup, although Sugar Maple is by far the most productive.
Traditional sugar camps
 Native Americans set up semi-permanent sugar camps in the forests to which they traveled for the annual 'sugaring season' (from about mid-February to early April). The camps usually consisted of two structures: a small birch-bark-covered lodge where the utensils were stored and the sugaring lodge, which also served as a temporary living space.
Every year, before sugaring could commence, the sugar-making lodge had to be freshly restored and repaired. The lodge consisted of one or two platforms set up along the inside walls, while the middle was kept as the cooking space.
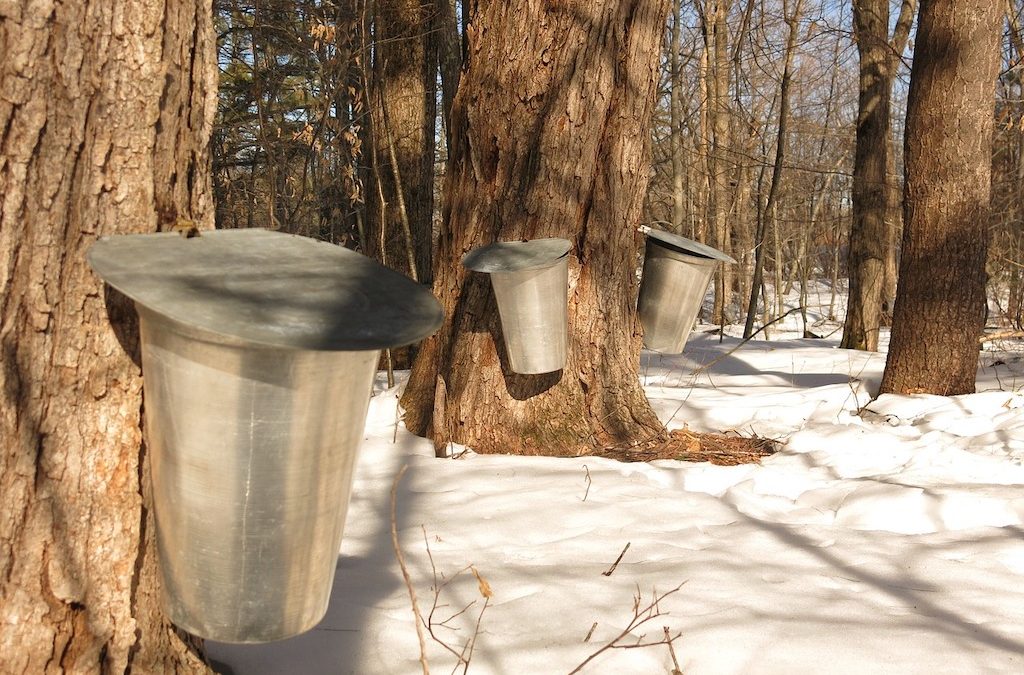
Each camp harvested between 900 - 1500 taps. To set up a tap requires a diagonal 4" incision to be cut into the tree at about 3 ft above the ground. Perpendicular to the cut the bark was removed for another 4 inches and a 6x2” wooden spout, usually made of Slippery Elm was inserted below. Beneath the spout, a birch-bark vessel was positioned to collect the sap.
Sugaring-off
The taps had to be checked regularly. Once the container was full, their contents were transferred to a larger pot which was placed near the edge of the fire and slowly heated. This process, known as ‘sugaring off’ was a delicate affair requiring great care. It was done at low heat so as to avoid excessive frothing and bubbling.
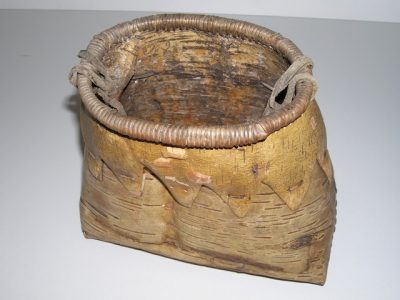 Before there were kettles, pots, and pans made of metal, the Native Americans used birch bark containers and vats made from moose skins. To heat the syrup, they would place red hot stones into these containers filled with the syrup. These were then cooled in the snow. Once the water had frozen into a sheet of ice, it was simply discarded.
The fire was kept going all night and people took turns to watch over it and to attend to the sap, cooling it and reheating the syrup, all the while stirring it with ladles made of maple wood.
When the syrup reached the right consistency, it was strained through a basswood mat, or through a well-worn linen cloth. For the final sugaring-off, all the equipment was carefully cleaned and scoured. The syrup was reheated once more and some bear grease or deer tallow was added to render the sugar softer and less brittle. Gradually, the the mass thickened and stirring it with the maple wood paddle was getting harder. As soon as it reached just the right consistency, it had to be crushed quickly so as to pulverize it. If cooled beyond a certain point the sugar solidifies crushing it becomes much harder.
The settlers soon learned the technique and adapted it to their equipment. Although the tools have changed, the process is essentially the same except for some small modifications that have simplified the procedure.
For Native Americans and for some of the small family producers 'sugaring off' was not just a commercial endeavor. It was a cultural event, an integral and important part of the annual cycle, and a joyous, festive time that heralds the coming of spring.

Other Maple delicacies
Some of the thick syrup was used to make special delicacies. It was poured into fancy shapes which solidified as they cooled down. Another special treat was known as ‘gum sugar, which nowadays is known as maple taffy. To make this sticky stuff, the syrup was poured onto the snow, where it quickly hardened. It was then scooped up and portioned into small packets wrapped in birchbark.
Sometimes it is poured onto vanilla ice cream. Once it hardens, it can be picked up with a spoon or stick to be eaten like a lollipop. The settlers added their own variations to the range of Maple products. Among them, is a thick spread known as maple butter, maple vinegar (which by all accounts appears not to have been too tasty, but is said to improve with the addition of whiskey), maple beer, and maple punch.
 Composition of Pure Maple Syrup:
The flavor, abundance, and exact composition of sap depend on environmental factors such as the weather and the pH level of the soil. Little snow and deep frost during the early part of winter, followed by heavy snow, were said to produce the best harvest. Rain changes the flavor of the sugar and thunderstorms are thought to ruin it.
In contrast to white sugar, maple syrup and maple sugar are highly nutritious.
Carbohydrates (%):
- Sucrose 62.65
- Hexose (glucose, fructose) 0.5 - 3
- Other trace sugars
Organic acids (%)
- Malic 0.090
- Citric 0.009
- Succinic 0.007
- Fumaric 0.004
- Amino acids (%):
- Phenols 300-960
- Amino nitrogens 30-190
Minerals (PPM)
- Potassium 1500-2200
- Calcium 400-1000
- Magnesium 100-300
- Phosphorus 50-125
- Manganese 5-80
- Zinc 5-50
- Sodium 1-25
- Iron 1-15
- Tin 0-25
- Copper 0-2
Vitamins (micrograms/liter)
- Niacin (PP) 276
- Pantothenic Acid (B5) 600
- Riboflavin (B2) 60
- Folic Acid Traces
- Pyridoxine Traces
- Biotin Traces
- Vitamin A Traces
Ethnobotanical uses
Native Americans also used Sugar Maple medicinally. Particularly the Iroquois medical tradition made ample use of it. It is included in compound medicines to purify the blood, while a compound infusion of the bark was used as eye drops to treat blindness. They also used the leaves to prepare a decoction that was used as a wash to treat the affected parts of a skin condition known as the "Italian itch".
Forest runners would take an infusion of the bark together with another plant for shortness of breath, while the inner bark was used as cough medicine. The dried and ground inner bark was sometimes used as flour substitute. A purple dye was obtained from the rotten wood but it was rare, as the wood is quite rot-resistant.
Potash
The white settlers soon found it more profitable and less bothersome to turn their stands of Maple trees to ash which could be turned into economically valuable potash. Maple wood yields a relatively large amount of ash (4% compared to only 1% of Douglas Fir). During the 18th and 19th centuries, potash was a valued raw material destined for export to England. It was destined for the British textile industry, where it served as a vital ingredient in the processes of making soap, glass, and gunpowder.
In 1751, Britain even passed an act in Parliament 'to encourage the making of Pott Ashes and Pearl Ashes in the British Plantations in America'. An acre of woodland could be reduced to 2 tons of potash - with a tidy profit for the farmers. Sometimes, however, it was their only significant source of income: in 1800 a ton of potash demanded a price of $200 - $300. Eventually, Thomas Jefferson stopped all exports of any goods including Potash as a reprisal against the search and seizure of American ships by France and Britain - with the result that illegal export (i.e. smuggling) became even more lucrative.
Recipes
Maple Gingerbread
Ingredients:
- 2-⅓ cups flour, sifted
- 1 teaspoon baking soda
- 1½ teaspoons powdered ginger
- ½ teaspoon salt
- 1 egg
- 1 cup maple syrup
- 1 cup sour cream
- 4 tablespoons melted butter
Method
Sift together flour, soda, ginger, and salt. Set aside.
In a separate bowl, beat the egg vigorously, and then stir in the maple syrup, sour cream, and butter. Mix cream and butter. Combine the flour with the other dry ingredients and then stir into the egg mixture. Pour into a greased flat pan and bake for 30 minutes at 350°F, or until the cake pulls away from the sides of the pan.
Maple frosting is a tasty option.
Maple Wine
From "Valuable Secrets", 1809
"Boil 4, 5, or 6 gallons of sap according to its strength into one and add yeast according to the quantity you make. After it is fermented, set it aside in a cool place well stopped. If kept for two years, it will become a pleasant and round wine."